Appearance
Showroom Experience
Welcome
Welcome to the workplace design showroom. Take a stroll through four different workplace scenarios and discover the products that make up each space.
A showroom experience is a 3D virtual space that can act as a showroom for products, a museum for art or a virtual event space for instance. Instead of showing one model at a time, you can show multiple models in a single scene.
This tutorial will show you how to navigate such a scene, show images and text and even add images to the 3D model itself. If this is your first time working with the Sketchfab API, I recommend you start with the Getting started tutorial.
Features
The showroom experience has the following features:
- A 3D scene of a conference room with multiple objects
- Stepped navigation with annotations
- Controlled camera movement
- Info panel with text and images
The 3D model contains annotations, but all the contents is contained in the web-app.
The model
The navigation is based on annotations, but we don't want to show any of them. We'll use a custom button to navigate to the next annotation.
We'll use these init settings:
js
autostart: 1,
annotations_visible: 0,
scrollwheel: 0,
ui_controls: 0,
ui_infos: 0,
ui_watermark: 0,
ui_stop: 0,
camera: 0,
annotations_visible: 0hides the annotationsui_controls: 0hides all default controlsscrollwheel: 0disables zooming with the scrollwheel. This helps to prevent the user from zooming in or out.
In my experience I like to keep very strict camera control. You can opt to give users a bit more freedom, for instance by allowing them to zoom.
Take a look at the Menu and embedding tutorial for further explanation of settings.
Step by step
I have three steps in this showroom experience. Each step has a title. By using the "next" button, the user can navigate to the next step. We've already seen this behavior in the Product tour project. The difference is that in this project, we're letting the app drive the navigation instead of the Sketchfab model.
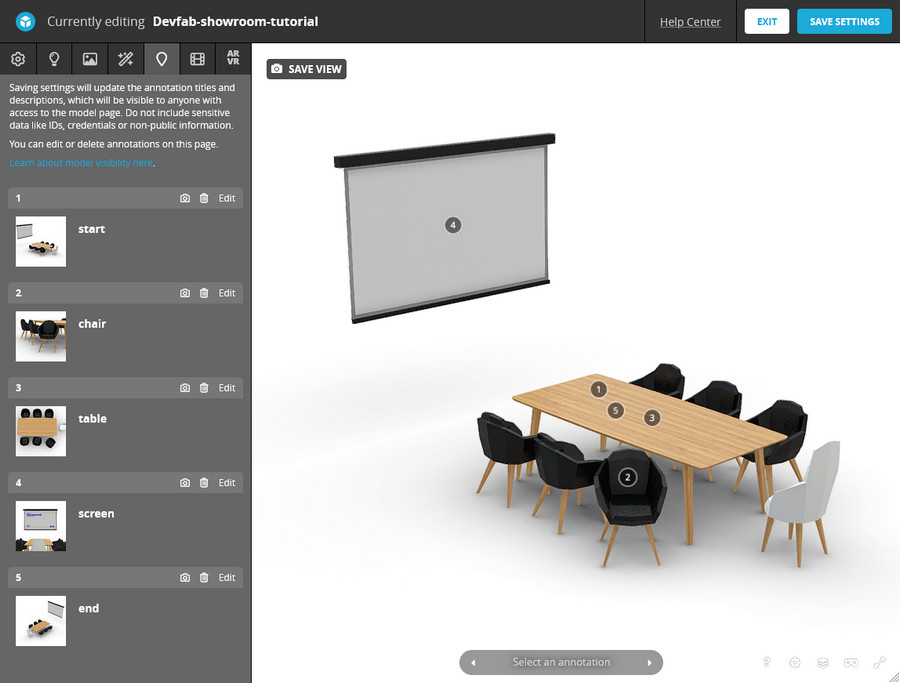
What this means is, that the model can have any number of annotations in it, but we only use the ones that we specify in the app. This gives us flexibility in how we're using the model. Our model has five annotations.
In the next code snippet, you see the list of steps that we want to display. Once the model has loaded and the viewerready event has fired, we run the parseAnnotations method. It loops over all available annotations, and stores the ones that we need in the annotations array.
js
let annotations = [];

const steps = [
  {
    name: "Meeting Table",
    annotationname: "table",
  },
  {
    name: "Projection Screen",
    annotationname: "screen",
  },
  {
    name: "Desk Chair",
    annotationname: "chair",
  },
];

const parseAnnotations = (api) => {
  api.getAnnotationList((error, annotationlist) => {
    annotations = steps.map((step) =>
      annotationlist.find(
        (annotation) => annotation.name === step.annotationname,
      ),
    );
  });
};
The following code snippet shows you what happens when the user presses "Next". The setStep method is called. It creates an index for the next annotation and calls the gotoAnnotation method. That method uses the setCameraLookAt method to move the camera to the next annotation. Once the camera has reached its destination, we set the camera constraints again. You can see why we're doing this and how exactly in the Annotations and constraints tutorial. In short: we're not using the annotations to navigate, but we're using them to set the camera positions directly.
js
const setStep = () => {
  currentId = currentId === steps.length - 1 ? 0 : currentId + 1;
  const annotation = annotations[currentId];
  gotoAnnotation(api, annotation);
};

const gotoAnnotation = (api, annotation) => {
  const settings = {
    usePanConstraints: true,
    target: annotation.target,
  };
  api.setEnableCameraConstraints(false, {}, () => {
    api.setCameraLookAt(annotation.eye, annotation.target, 2, (err, id) => {
      api.setCameraLookAtEndAnimationCallback(() => {
        api.setCameraConstraints(settings, () => {
          api.setEnableCameraConstraints(true, {});
        });
      });
    });
  });
};
Bookends
I want to start and end the experience with their own steps. I've added two annotations with the names start and end. The first step is a title screen. The last step is a thank you screen. It makes the whole experience a bit more polished.
We're enhancing the data object with two new steps. We're also adding the buttontexts in the data object. The idea is that we first start, then go through our three steps and then end. Once you arrive at the end, you can restart the experience.
js
const steps = [
  {
    title: "Start experience",
    annotationname: "start",
    buttontext: "Start",
  },
  {
    title: "Meeting Table",
    annotationname: "table",
    buttontext: "Next",
  },
  {
    title: "Projection Screen",
    annotationname: "screen",
    buttontext: "Next",
  },
  {
    title: "Desk Chair",
    annotationname: "chair",
    buttontext: "Finish",
  },
  {
    title: "Thank you",
    annotationname: "end",
    buttontext: "Again",
  },
];
Add more content
Besides the title and the button, I also want to show a thumbnail image and some text. We need to add that content to your data objects and array and enhance the getContent and showStepContent methods.
This is simply a matter of expanding the data object and putting that data somewhere in the frontend. I've added a body text and an img url to the data object.
js
{
  title: "Meeting Table",
  annotationname: "table",
  buttontext: "Next",
  body:
    "The Ark white conference table is crafted from a 5 mm solid laminate top on a powder-coated steel base.",
  img: "https://assets.codepen.io/2407400/conference-table.jpg"
},
One final trick is to dynamically add textures to the 3D model. Besides showing texts and images in the frontend, we can use materials in the 3D model to display information too. It's as if we're populating a virtual showroom with information. In this example we're adding an image as a texture to the screen-projector material. We do that when the scene loads.
js
api.addTexture(step.branding.src, (err, uid) => {
  const material = materials.find(
    (material) => material.name === step.branding?.materialname,
  );
  if (material) {
    material.channels.AlbedoPBR.texture = { uid };
    material.channels.EmitColor.texture = { uid };
    material.channels.EmitColor.enable = true;
    material.channels.EmitColor.factor = 1;
    api.setMaterial(material, () => {});
  }
});
I'm addiing the texture with addTexture and then I use the uid of the new texture in the AlbedoPBR and EmitColor channels. Take a look at the Textures and Material channels tutorials for more information.